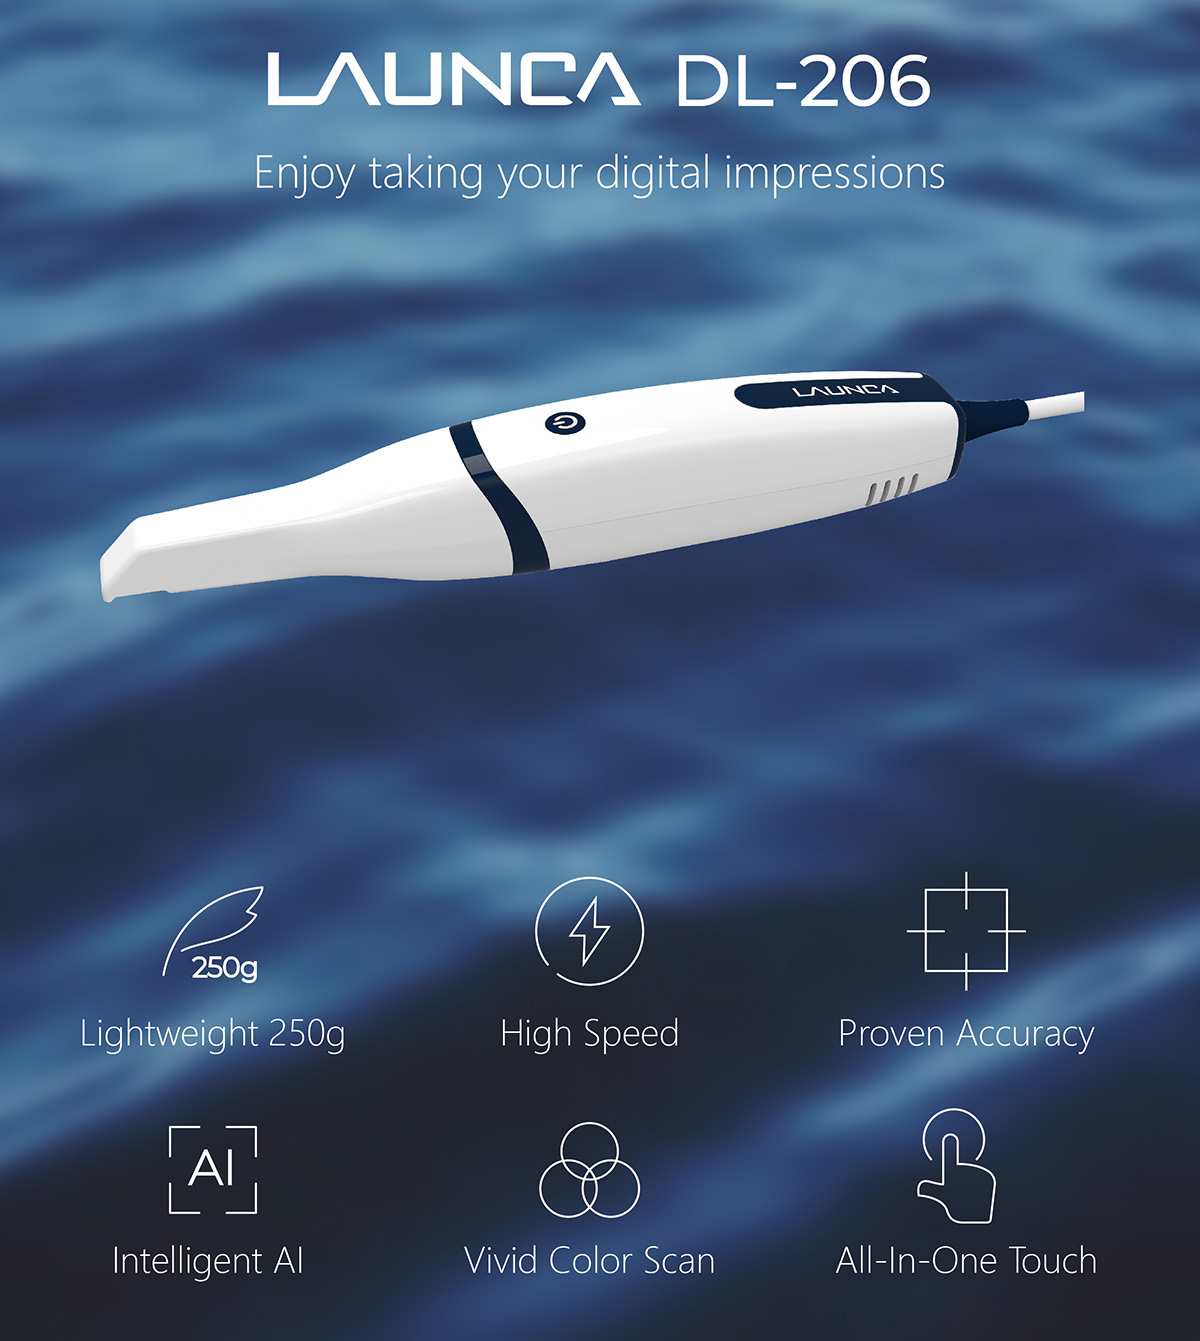
The adoption of intraoral scanning technology is booming in recent years, pushing dentistry into a full digital era. An Intraoral scanner (IOS) offers so many benefits for dentists & dental technicians in their daily workflow and is also a good visualization tool for better doctor-patient communication: the patient experience is transformed from the unwillingness toward the unpleasant impression to an exciting educational journey. In 2022, we all can sense that messy impressions are really becoming a thing of the past. Most dentists are interested and considering moving their practice toward digital dentistry, some of them are already making the switch to digital and enjoying its benefits.
If you have no idea what an intraoral scanner is, please check the blog on what is an intraoral scanner and why we should go digital. Simply put, it is a simple and easy way to get digital impressions. Dentists use IOS to create realistic 3D scans quickly and efficiently: by capturing sharp intraoral images and showing patients' digital impressions instantly on the HD touch screen, make it easier than ever to communicate with your patient and help them better understand their dental situation and treatment options. After the scan, with just one click, you can send the scan data and effortlessly communicate with your labs. Perfect!
However, even though intraoral scanners are powerful impression-taking tools for dental practices, like any other technology, the use of the digital 3D scanner is technique sensitive and requires practice. It is worth noting that digital impressions only offer benefits if the initial scan is accurate. So it is necessary to take some time and effort to learn how to take accurate digital impressions, which is crucial for dental labs to fabricate a nice restoration. Here are some tips for you to get the most out of your scanner.
Be patient and start slow
If you're a first-time user of a scanner, you need to know that there's a little learning curve on the way to becoming an IOS master. It might take you some time to get familiar with this powerful device and its software system. In this case, it's better to slowly incorporate it into your daily work. By gradually bringing it into your work routine, you will know how to best apply it in different indications. Feel free to contact the technical support team of the scanner with any questions. Remember to be patient, don't rush to scan your patients right away. You can start practicing on the model. After some practice, you will be more confident and move forward with your patients and impress them.
Learn the scan strategy
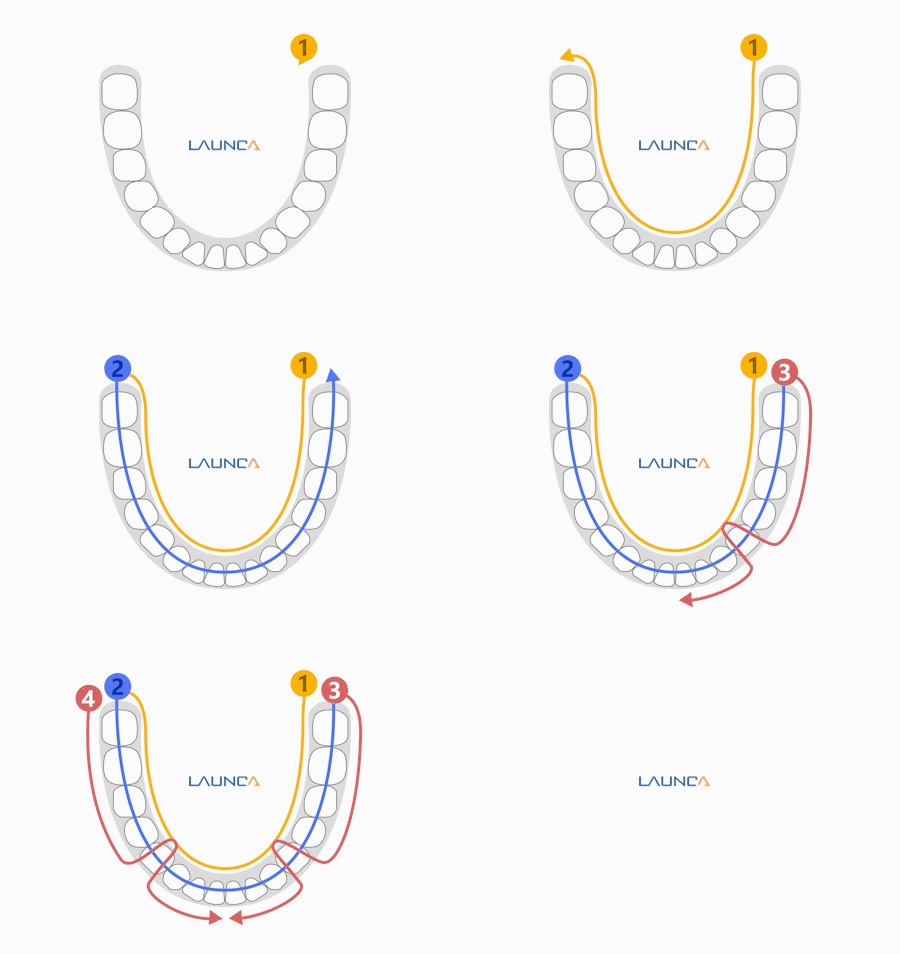
Scan strategy matters! Studies have shown that the accuracy of full-arch impressions is affected by the scan strategy. Manufacturers' recommended strategies were statistically significantly better. Therefore, each IOS brand has its own optimal scanning strategy. It will be easy for you to learn the strategy from the beginning and continue using it. When you follow the designated scan path, you can best capture the complete scan data. For Launca DL-206 intraoral scanners, the recommended scan path is lingual- occlusal- buccal.

Keep the scanning area dry
When it comes to intraoral scanners, controlling excessive moisture is crucial to getting accurate digital impressions. Moisture can be caused by saliva, blood or other fluids, and can create a reflection that alters the final image, such as image distortion, rendering the scans inaccurate or even unusable. Therefore, in order to get a clear and accurate scan, you should always clean and dry the patient's mouth before scanning to avoid this issue. Besides, make sure to pay extra attention to the interproximal areas, they can be challenging but are vital to the final outcome.
Pre-prep Scan
Another key point to notice is to scan the patient's teeth prior to prepping. This is because your lab can use this scan data as a base when designing the restoration, it will be easier to create a restoration that is as close as possible to the shape and contour of the original tooth. The Pre-prep scan is a very useful function as it increases the accuracy of the work done.
Quality check of the scan
1. Missing scan data
Missing scan data is one of the most common situations that beginners experience when scanning their patients. This most often occurs on hard-to-access areas of the mesial and distal teeth adjacent to the preparation. Incomplete scans will result in voids in the impression, which will cause the lab to request a rescan before they can get to work on the restoration. To avoid this, it is recommended to look at the screen while scanning to check your results in a timely manner, you can rescan the areas you missed to make sure they are fully captured to get a complete and accurate impression.
2. Misalignment in the occlusion scan
An abnormal bite on the patient's part can result in an inaccurate bite scan. In most cases, it will show the bite appears being open or misaligned. These situations can't always be seen during the scanning, and often not until the digital impression is completed and this will result in a poorly fitting restoration. Work with your patient to create an accurate, natural bite before you begin with the scan, scan only when the bite is in place and the wand is positioned on the buccal. Inspect the 3D model thoroughly to ensure the contact points match the patient's true bite.
3. Distortion
Distortion caused by moisture in a scan is caused by the reaction of the intraoral scanner to anything that reflects back on it, such as saliva or other fluids. The scanner can’t differentiate between that reflection and the rest of the image it's capturing. As we mentioned above, the point is to take the time to remove moisture completely from the area is essential for an accurate 3D model and saves time by eliminating the need for rescans. Make sure to clean and dry your patient's mouth and the lens on the intraoral scanner wand.

Post time: Mar-20-2022


